Stage 1: Start by submitting your files to us through the Shining 3D portal. We will need the scan flag scan, bite scan, 360° scan of patient's current temporary.
Stage 2: Once we receive this we can proceed to the final prosthetic. If a PMMA is required, we can fabricate that then the final.
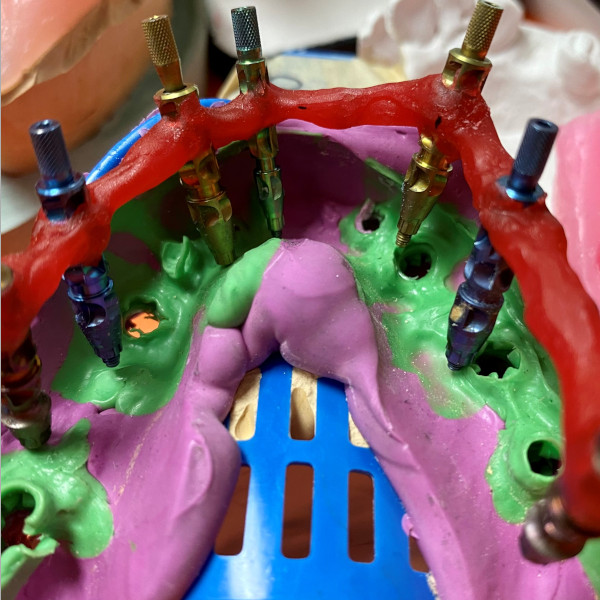
With Physical Impression
Verification Jog
Try-In/PMMA
Final Restoration
Stage 1: Start by sending us your pvs impressions through UPS or Greenlight services. To begin fabrication we will need the impression with impression copings placed, and if only a single arch an impression of the opposing arch. From this we will provide you with a verification jig ton confirm the new poured master cast and a wax rim to confirm the bite.
Stage 2: After the model and bite have been confirmed we can then provide a PMMA try-in. Once the PMMA is approved by the doctor and patient we can proceed to the final finish.
Stage 3: After the PMMA approval in order to finalize the design, we will need all the model work back as well as the PMMA. If the pt. needs this PMMA as their current temp then we will need a 360° scan of the prosthetic.
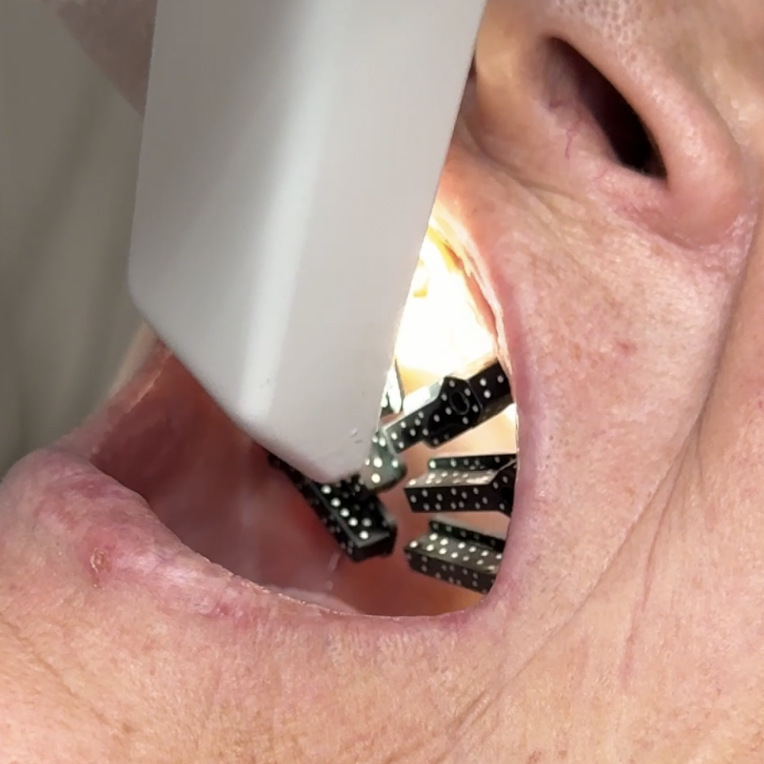
With Digital Scan
360° Scan
360° Old Denture Scan
Opposing Bite
Stage 1: Start by sending us your stl files to any of the popular digital case portals or our website. The scans needed will be an implant scan with scan bodies attached, a 360° scan of patient's current denture, bite scan, and if a single arch the opposing. From this you will receive a 3D printed implant master model, verification jig, and a PMMA try-in.
Stage 2: After the model is confirmed and the PMMA is approved, everything must be sent back in order for us to finalize. If the patient wants to keep the new fabricated PMMA please take a 360° scan of that and send it to us.
Stage 3: When all records have been received back we can now finalize.